
Super Paper Bridges
Learners will design, build, and test different paper bridges to discover which shapes and structures create the strongest designs. This challenge encourages creative problem-solving and hands-on experimentation with basic engineering principles.
Our goal: In this spark, your learner will design and construct a paper bridge using simple materials, test the strength of different bridge designs by adding weight and identify how shapes and structural elements can affect a bridge's stability.
What You Need
Paper • Tape • Pennies • Books • 2 books
and this is just the baseline.
Scan to jump into the app and easily personalize this Spark to match your child's exact learning level and see how Mai will guide this lesson.
Learning Guide
A simple guide to lead you through the kickoff, the core challenge, and everything in between.
Mai’s Tips
- During the building phase, encourage them to experiment freely. It's okay if the first design isn't perfect; that's how engineers learn and improve!
- Help them count the pennies accurately as they add them. This reinforces number sense and provides a clear, measurable outcome for their engineering design.
Prep Before Session 5 min
- Locate paper, tape, a pile of pennies, and two sturdy books.
- Ensure materials are easily accessible for the activity.
1Introduction 5 min
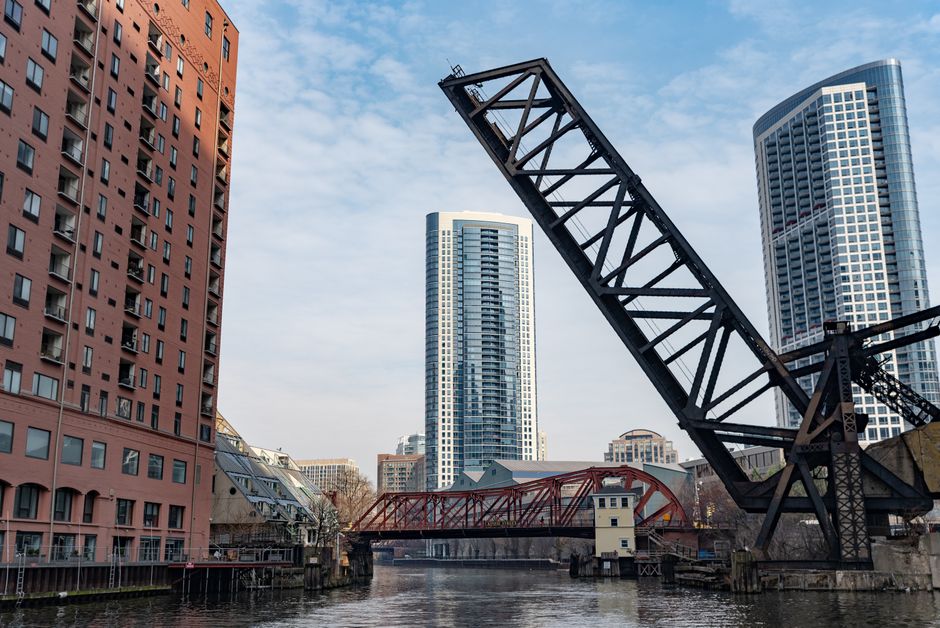
Start the conversation by asking your child to think about bridges they’ve seen, either in person or in pictures. Have them describe what they notice about them. Introduce the word 'engineer' – that’s someone who plans and builds amazing structures like bridges to make them safe and strong!
Ask them:
* 'What do you notice about that bridge?'
* 'How do you think it stays up?'
Explain that today you'll both be engineers building your own super strong paper bridge.
Done when your child expresses curiosity and shares an initial thought about bridges.
Know Before You Teach
- Good to know: Bridges are built to help people and things cross over obstacles like water or roads.
- Engineers use science and math to design things that are strong and safe, like bridges.
- If they ask: Why do bridges need to be strong? So they can safely hold the weight of cars, trains, or people and not break!
- It's working when: Child points to or describes a specific bridge they remember.
- If they're stuck: Show a picture of a bridge and ask, 'What do you see here?'
- Easier: Focus on just one type of bridge (e.g., a simple flat bridge) and ask about that.
- Harder: Ask the child to guess what materials bridges are usually made from.
Done when: Student expresses curiosity and shares an initial thought about bridges.

2Explore & Plan 8 min
Help your child gather all the necessary materials: paper, tape, a pile of pennies, and two sturdy books. Then, encourage them to think like engineers before building. Have them brainstorm different ways to fold, roll, or shape the paper to make it stronger across a gap.
Ask them:
* 'What’s your first idea for making a strong paper bridge?'
* 'What kind of shapes do you think would make the paper extra strong?'
* 'How could we test if it’s strong?'
Done when your child has a rough idea for a bridge design and all materials are gathered.
Know Before You Teach
- Good to know: Folding or rolling paper can make it much stiffer and stronger than flat paper.
- Engineers often draw their ideas and plan before they start building.
- Many strong shapes in nature and engineering are triangular, arched, or cylindrical.
- It's working when: Child tries to fold or roll a piece of paper to see if it feels stronger.
- If they're stuck: Offer a piece of paper and suggest, 'Try to make this piece of paper strong enough to hold something up.'
- Easier: Show examples of pre-folded/rolled paper shapes (e.g., a zig-zag, a tube) and ask, 'Which of these looks strongest?'
- Harder: Ask the child to draw their bridge design before building.
Done when: Student has a rough idea for a bridge design and has gathered materials.

3Discussion 6 min
Engage your child in a discussion about their initial ideas for strengthening the paper. Introduce the term 'prediction' – that’s a guess about what will happen, based on what you already know or think.
Ask them:
* 'Why do you think folding or rolling the paper might help it hold more weight?'
* 'What makes that shape strong?'
* 'What do you think will happen if we just lay a flat piece of paper across the gap? Let’s make a prediction!'
Done when your child can explain their prediction and some reasoning for it.
Know Before You Teach
- Good to know: The shape of a material affects how well it can hold weight and resist bending.
- Flat paper bends easily because its fibers can separate when pulled or pushed.
- Key words: prediction: A prediction is when you make a smart guess about what you think will happen next, before it actually happens.
- It's working when: Child uses words like 'stronger' or 'hold up' when explaining their idea.
- If they're stuck: Ask, 'If you had a noodle, how would you make it harder to break?'
- Easier: Ask a yes/no question like 'Do you think a flat bridge will hold many pennies?'
- Harder: Ask the child to explain why they think a certain shape will be stronger.
Done when: Student can explain their prediction and some reasoning for it.
4Activity 9 min
Set up two books about 6-8 inches apart to create a 'canyon' for the bridge. Supervise as your child uses the paper and tape to build their bridge, letting them lead the design process. Encourage them to experiment with different folds or shapes. Once the bridge is built, have them carefully start adding pennies one by one to the center of the bridge. Remind them to count the pennies slowly as they go.
Ask them:
* 'What do you notice as you add more pennies?'
* 'How many pennies can it hold?'
Done when your child has completed building and testing their bridge.
Know Before You Teach
- Good to know: When weight is added to a bridge, it creates a downward force that can cause it to bend or break.
- A stable bridge distributes the weight across its structure to support the load.
- The point where the bridge starts to sag or collapse is its 'failure point'.
- If they ask: Can I use lots of tape? We're focusing on how the paper's shape makes it strong, so try to use tape just to hold your shapes together.
- It's working when: Child observes the bridge carefully as pennies are added, noting changes.
- If they're stuck: Suggest a simple fold, 'What if we just folded the sides up like a 'U'?'
- Easier: Count the pennies with the child, or let them just observe without counting explicitly.
- Harder: Ask the child to record how many pennies each different bridge design holds.
Done when: Student has completed the physical activity.

5Summary 2 min
Celebrate your child's effort and the discoveries they made during their engineering challenge! Engage them in a reflection about their bridge-building experience.
Ask them:
* 'What was the most surprising thing you learned?'
* 'Which shapes seemed to make your bridge stronger, and which ones didn't hold as much?'
* 'If you built another bridge, what would you do differently?'
Done when your child shares at least one key takeaway from the activity.
Know Before You Teach
- Good to know: Engineers learn from their experiments, even when designs don't work as expected.
- If they ask: Why did my bridge break? Every bridge has a limit; yours held a lot before the forces became too much for its shape to handle.
- It's working when: Child can articulate at least one specific design choice they made and its outcome.
- If they're stuck: Rephrase a question, 'Which bridge did you think was going to hold the most pennies at the beginning?'
- Easier: Focus on just one question, 'What did you like about building your bridge?'
- Harder: Ask the child to compare their bridge's strength to a real bridge they've seen.
Done when: Student shares one key takeaway.
Beyond The Spark
Fuel their curiosity beyond the Spark with bonus extras.
Table Talk
Engineers use these same ideas about shapes and strength to build everything from skyscrapers to spacecraft!
Challenge
Try building a second bridge using a different design. Can you make it even stronger than your first one? What if you tried a zigzag fold or a tube shape?
Quick Recap Quiz 4 min
Customize this quiz, add questions, or follow your child's lead! Each question has a 'Parent Tip' to help them find the answer without giving it away.
1. What job is someone doing when they design and build a bridge?
- Chef
- Engineer
Remind them who makes plans for big buildings and structures.
2. To make a paper bridge stronger, what might you do to the paper?
- Fold it into shapes like triangles or tubes
- Keep it flat and smooth
Think about what happened when you tried to make the paper hold weight.
3. When you added pennies to your bridge, what was the most important thing to learn about its strength?
- How shiny the pennies were
- How many pennies it could hold before breaking
What was the goal of adding the pennies?
4. Why do real engineers need to test their bridge designs?
- To make sure they are safe and strong enough for people and cars
- To see how fast they can build them
What is the most important job of a bridge for everyone who uses it?
Loved This Spark?
Scan to jump into the app and explore similar Sparks in our Sparks Hub. New to Mai? Start free with 10 Sparks, no credit card needed.