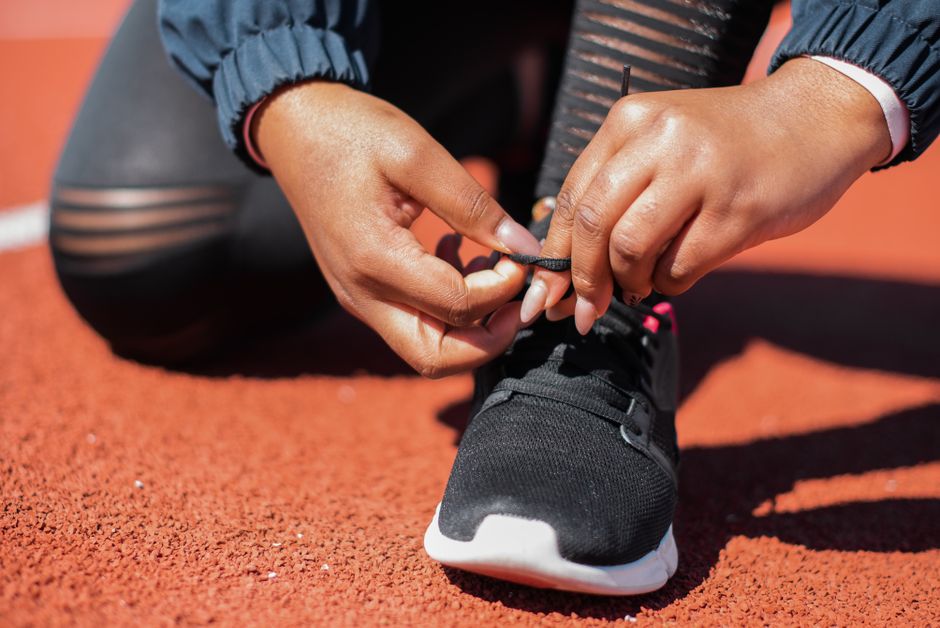
Shoe Tying Hero
This challenge helps children master the essential life skill of tying shoelaces. By exploring knots and loops, they'll learn the practical steps needed to secure their shoes, fostering independence and fine motor skills.
Our goal: Learners will understand why shoelaces are important for their shoes and how different knots work. They will learn to identify and form the loops needed to tie a basic shoelace, gaining the skill to secure their own footwear independently.
What You Need
Shoe with laces • Extra shoelace
and this is just the baseline.
Scan to jump into the app and easily personalize this Spark to match your child's exact learning level and see how Mai will guide this lesson.
Learning Guide
A simple guide to lead you through the kickoff, the core challenge, and everything in between.
Mai’s Tips
- Patience is Key: Shoe tying is a multi-step motor skill that takes time and repetition to build muscle memory. Expect many attempts and celebrate every small step of progress, not just the final knot.
- Verbalizing Steps: Encourage the child to describe each step as they do it. This verbalization helps solidify their understanding and sequence of actions, making the process stick better in their memory.
- Simplify the Start: If a child struggles with the initial crossover and first knot, use a thick piece of yarn or rope first, or even two different colored laces on a practice board. The larger size makes it easier to manipulate and see the overlaps.
- Troubleshoot Twists: Sometimes laces get twisted, making it harder to pull tight. Gently untwist them after each major step (like after the first knot, and after forming the loops) to ensure smooth progression.
For The Grown-Up
- Watch out: Shoelaces can become very tangled when practicing, leading to frustration. Suggest having a second, untangled lace ready, or pausing to carefully untangle before proceeding.
- A common mix-up: Children often believe that simply crossing the laces over and pulling them tight is enough to secure a shoe, or that once they make a loop, the job is done, without understanding the need for the second loop and the final pull.
- Explain it like this: Think of the laces as giving your shoe a big, strong hug. When you make a knot, it's like their arms are locking together, so they can't let go, keeping your foot cozy inside!
- A big question to ask: If you could only use one hand, would it be harder or easier to untie a shoelace than to tie it?
1Ready, Set, Go! 5 min
Place a shoe with laces in front of the child, perhaps one they are wearing as they prepare for the day. Discuss its purpose and parts. For younger children, focus on identifying the shoe and the laces. For older children, prompt them to think about how the laces specifically keep the shoe securely on their foot. End by asking about the laces' job.
- How do shoes stay on our feet?
- What do these laces do?
Know Before You Teach
- Good to know: Shoelaces are designed to be tied and untied easily but securely.
- They allow shoes to fit different foot shapes and sizes.
- If they ask: Why don't all shoes have laces? Some shoes use velcro, buckles, or elastic because they are quicker to put on, or they are designed to slip on and off easily.
- Key words: Laces: The strings on shoes that you tie to make them fit tight.
- If they're stuck: Ask them to imagine wearing shoes without laces – what would happen?
- Easier: Focus only on identifying the laces and the holes they go through.
- Harder: Ask them to describe the different types of laces they've seen and if they think some are better than others.
Done when: Student identifies laces and their basic function.
2Untangle the Mystery 8 min
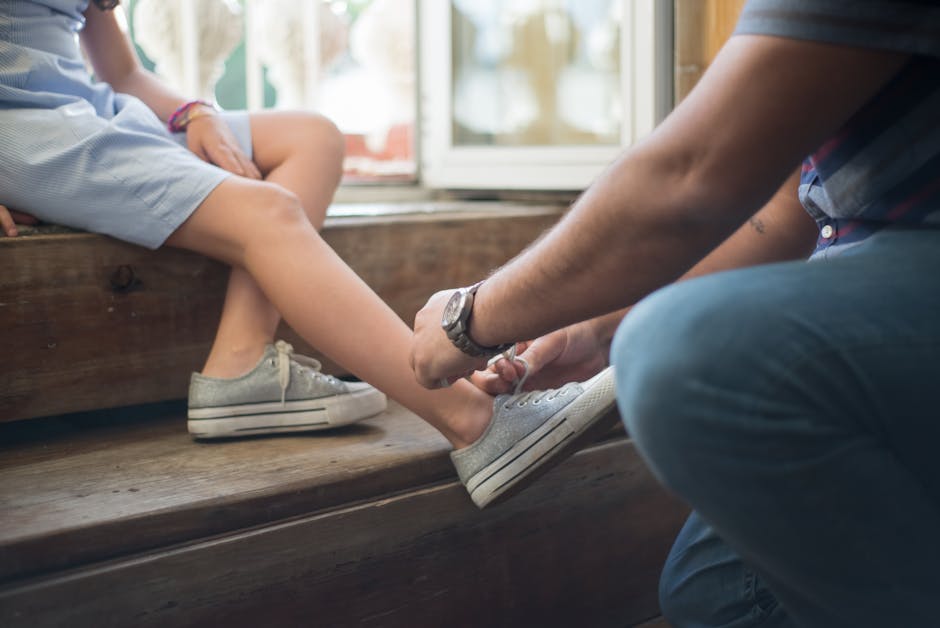
Give the child an extra shoelace or ask them to untie one of their own shoes. Have them experiment with different ways to connect the two ends of the lace. For younger children, simply encourage them to try and make the ends touch or overlap. For older children, ask them to attempt to make the laces hold together in some way, then test if it's secure.
- How can you make these two ends stay together?
- If you tried to run, would your connection hold?
- What makes it stay or fall apart?
Know Before You Teach
- Good to know: A simple crossover or intertwine isn't enough to create a lasting connection.
- Holding power comes from tension and friction created by overlapping and tightening.
- If they ask: Why doesn't it just stick together? Laces are smooth, so they need a special way of overlapping and pulling tight to create friction and hold on to each other.
- It's working when: Child experiments with different lace connections and can articulate why some don't hold.
- If they're stuck: Demonstrate a simple crossover that fails, then ask them 'What went wrong here?'
- Harder: Challenge them to try to make a connection that holds firmly but is not a 'real' knot, and then explain why it does or doesn't work.
Done when: Student explores different ways to connect laces and makes a prediction about their security.

3The Magic of a Knot 6 min
After they've explored, introduce the concept of a 'knot'. Explain that a knot is a special way of intertwining and looping strings or ropes so they hold tightly due to friction and overlapping. It's different from just crossing them over because the design locks the strings in place. For younger children, demonstrate a simple single knot and ask them to mimic making one loop. For older children, discuss why the overlapping parts create tension and hold. Ask them to think of other things that use knots.
- What's a 'knot'? (A knot is a way of looping and intertwining string so it holds tightly together.)
- How is a knot different from just laying the laces on top of each other?
- Where else do you see knots being used?
Know Before You Teach
- Good to know: A knot's strength comes from its specific interwoven structure and the friction between the parts.
- The first step in tying shoes is usually a 'granny knot' or 'square knot' base.
- If they ask: Can I just use one loop? You could, but it wouldn't be as secure. Two loops balance the knot and make it much stronger, so it stays tied longer.
- Key words: Knot: A secure way of joining ropes or strings by looping and interlocking them.
- Key words: Loop: A circular shape made by bending a string or rope back on itself.
- It's working when: Child can recognize a basic knot and explain that it's more secure than a simple overlap.
- If they're stuck: Use a thicker rope or two different colored strings to demonstrate a basic knot slowly, then have them try to identify the 'loops' within it.
- Easier: Focus on making just one secure single knot (the first step of shoe tying) and understanding that it holds things together.
Done when: Student can describe what a knot is and why it holds, and can apply the idea to a new example.
4Lace-Up Masterclass 9 min
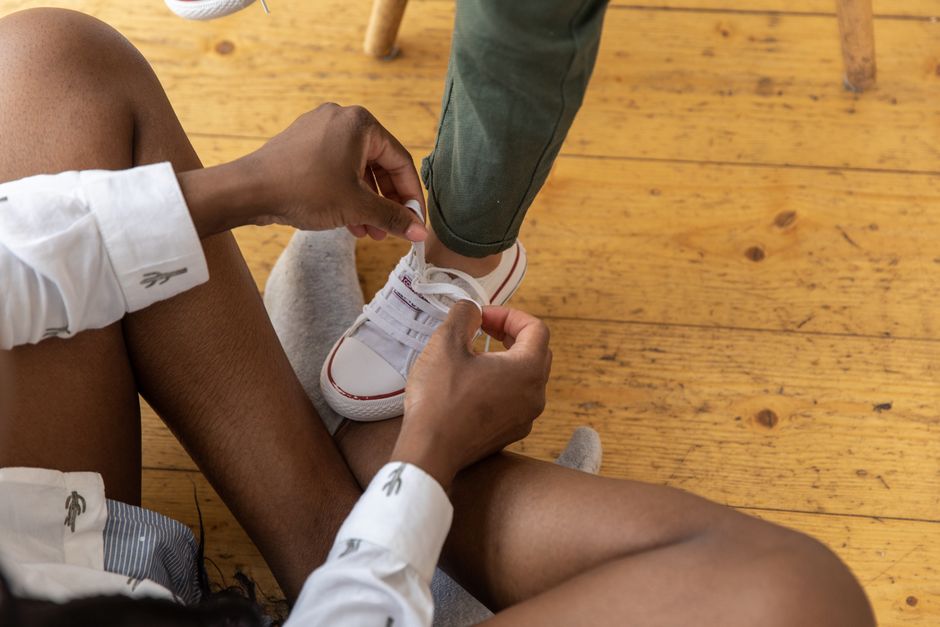
Guide the child through the steps of tying a shoelace on their chosen shoe. Decide whether to teach the 'bunny ears' method or the 'around the tree' method, and stick with it. Break the process into small, manageable steps. For younger children (4-6), focus on the first crossover knot and making one successful loop, even if they don't complete the full bow. For older children (7+), guide them through the full bow, emphasizing consistency and tightness. Be patient and encourage practice.
- First, cross one lace over the other and pull tight. Can you do that?
- Now, let's make a 'bunny ear' loop with one lace. Can you make another?
- Cross the 'bunny ears' over each other and pull one through the hole.
- Pull both loops tight! Does it feel secure?
Know Before You Teach
- Good to know: Consistent practice builds muscle memory, making the action automatic over time.
- If they ask: Why does my knot keep coming undone? Sometimes the loops aren't pulled tight enough at the end, or the first knot isn't quite secure. Let's try pulling them a little bit tighter at each step!
- It's working when: Child makes progress on one or more steps of the tying process, showing sustained effort.
- If they're stuck: Break the step down even further. For example, instead of 'make a loop', say 'fold the lace over so it makes a circle, like a bunny ear'. Use two different colored laces for demonstration if possible.
- Easier: Focus solely on making the first knot securely, or just forming the two 'bunny ear' loops without completing the final tie.
- Harder: Challenge them to tie a double knot after the initial bow, and explain why someone might want to do that.
Done when: Student successfully ties a basic shoelace knot (at least the first stage) or completes the full bow.

5Stepping Forward 2 min
Celebrate their efforts and discuss what they learned. Ask about the process and connect it to other learning experiences. What was challenging? What helped them succeed? Ask them:
- What was the hardest part about learning to tie your shoes?
- What did you do to keep trying even when it was tricky?
- How does practicing a new skill help you learn it better?
Know Before You Teach
- Good to know: Learning new skills requires effort, patience, and repeated practice.
- Mastering one life skill builds confidence for tackling others.
- If they ask: Will I ever be able to do this really fast? Yes! The more you practice, the faster your brain and hands will learn to do it without even thinking, just like riding a bike.
- It's working when: Child can articulate at least one challenge they faced and how they overcame it.
- If they're stuck: Ask them to show you one part of the tying process they now feel confident doing.
- Easier: Ask them to simply point to their tied shoe and say 'I did it!'
- Harder: Ask them to think of another skill they learned that was hard at first, and compare the learning process.
Done when: Student shares one key takeaway about learning or practice.
Beyond The Spark
Fuel their curiosity beyond the Spark with bonus extras.
Table Talk
Mastering shoelaces is a key step towards greater independence, like getting dressed by yourself or preparing for sports.
Did You Know?
Did you know that shoelaces, as we know them today, only became popular around the 18th century? Before that, buckles or straps were more common!
Challenge
Can you try tying a knot with your eyes closed, or using only one hand? This makes you really understand the movements!
Quick Recap Quiz 4 min
Customize this quiz, add questions, or follow your child's lead! Each question has a 'Parent Tip' to help them find the answer without giving it away.
1. What is the main purpose of tying your shoelaces?
- To decorate your shoes
- To keep your shoes on your feet
Remind them what happens if laces are untied – shoes fall off!
2. What do we call the special way of looping and intertwining strings so they hold tightly?
- A knot
- A pile
Think back to when we talked about how laces connect securely.
3. Why is it important to pull the loops tight when you're tying a bow?
- To make the shoe look pretty
- To make the knot secure and keep your shoe on
What happens if a knot is loose? Does it hold well?
4. What is one important thing you learned today about mastering a new skill like tying shoes?
- Practice helps you get better
- It's always easy on the first try
Remember how many tries it took and how you kept going!
Loved This Spark?
Scan to jump into the app and explore similar Sparks in our Sparks Hub. New to Mai? Start free with 10 Sparks, no credit card needed.