
Measure Your Path Home
Children will take on a challenge to build a path for a small toy using everyday objects. This lesson explores measuring length with non-standard units, comparing distances, and problem-solving through hands-on construction.
Our goal: In this spark, your learner will estimate and measure lengths using non-standard units, compare and order objects based on their length and apply problem-solving skills to adjust measurements.
What You Need
Small Toy • Paperclips • Yarn • Blocks
and this is just the baseline.
Scan to jump into the app and easily personalize this Spark to match your child's exact learning level and see how Mai will guide this lesson.
Learning Guide
A simple guide to lead you through the kickoff, the core challenge, and everything in between.
Mai’s Tips
- Let your child experiment with different measuring tools. There's no single 'right' answer for non-standard units; the learning is in the comparison and discussion.
- Encourage estimation before measuring. This builds critical thinking and number sense, even if their guess is far off from the actual count.
Prep Before Session 10 min
- Gather various everyday objects that can be used for measuring, like paperclips, yarn, and small building blocks.
- Ensure you have enough of each chosen object to create a path across the room, for example, 20-30 paperclips, a long piece of yarn, and 10-15 blocks.
- Find a small toy that can be used as the 'traveler' for the path.
1Introduction 5 min
Introduce the "Great Path Challenge"! Today, a tiny toy friend needs your help to get from one side of the room to another, but it can't jump! Start by helping your child choose a small toy they like. Next, work together to identify a clear 'start' point and a 'finish' point for its journey.
Ask:
- "How do you think we could make a super-duper path for it to travel safely?"
- "What would we need to think about to make sure our path is just right?"
- "What kind of path would be best for our toy?"
Done: The child understands the mission, has selected a toy, and identified clear start and end points for the journey.
Know Before You Teach
- Good to know: The core concept is that objects can travel distances, and we can define a start and end for that journey.
- A 'path' in this context means a continuous connection between two points on the floor for the toy to move along.
- This introduction sets the stage for understanding length and distance in a practical, hands-on way.
- If they ask: Can my toy fly? No, it needs a path to roll or slide on the ground, because we're going to learn about measuring how far it travels on the floor.
- If they ask: Why can't it just jump? We're learning how to make a safe path for toys that roll or crawl, not for flying or jumping ones today.
- Key words: Start point: where our toy begins its journey.
- Key words: Finish point: where our toy ends its journey.
- It's working when: The child points to the start and end locations and gives a simple reason for their choice (e.g., 'because it's far' or 'because it's next to the couch').
- If they're stuck: Offer two distinct choices for the start and finish points (e.g., 'Should we start by the window or the door?') and let them pick one.
- Easier: You select the toy and clearly define the start and finish points yourself to remove decision-making for the child.
- Harder: Ask the child to draw or describe their ideal path and its general route before you physically set up the start and end points.
Done when: Student understands the challenge and has identified a toy and start/end points.
2Explore & Plan 8 min
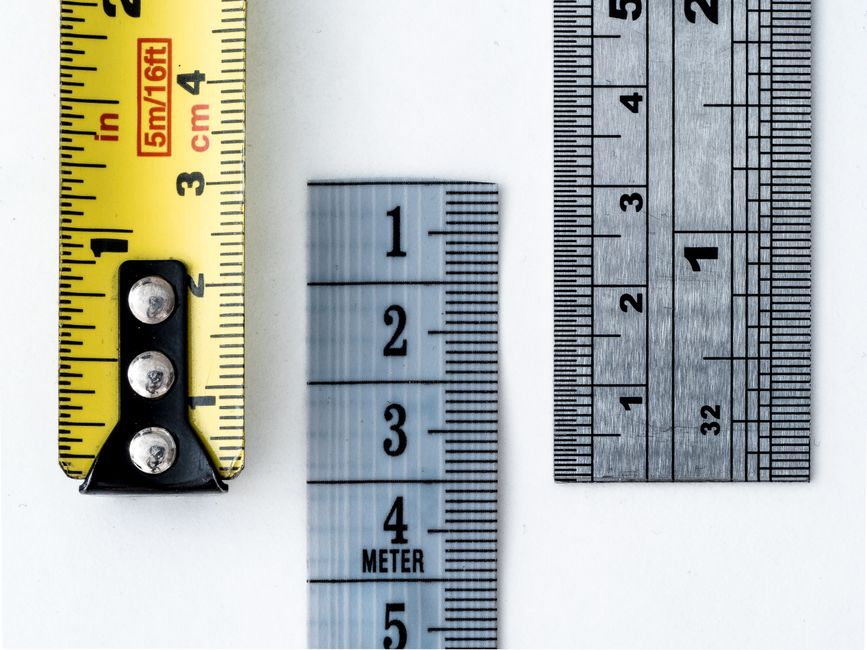
Gather the materials for your path: paperclips, yarn, and blocks. Lay them out together. Encourage your child to touch and manipulate each item, observing its unique qualities. These are our "non-standard units" of measurement – everyday objects we'll use instead of rulers or measuring tapes. They help us understand how length works in a fun, hands-on way.
Ask:
- "How do you think these items could help us figure out how long our path needs to be?"
- "Which one do you think might be the best choice for measuring a long path, and why?"
- "How is this different from that?"
- "How could we use this to measure?"
Done: The child has explored the materials and shared initial thoughts on how they could be used for measuring.
Know Before You Teach
- Good to know: Different objects have different lengths, which means you'll need more of smaller objects and fewer of larger objects to cover the same distance.
- The goal is for the child to understand that measurement involves seeing how many times a chosen 'unit' (like a paperclip) fits along a specific length.
- If they ask: Can we use my shoe? That's a clever idea! For today, let's stick to these items so we can compare them, but your shoe could definitely be a measuring helper another time.
- If they ask: Why don't we just use a ruler? Rulers give us numbers, but today we're learning how to measure using fun things we find around the house first, to understand how length works.
- It's working when: The child physically arranges some of the objects end-to-end or holds different objects next to each other to compare their lengths.
- If they're stuck: Demonstrate how to lay just one paperclip or block along a small section of the floor, pointing out that it shows 'how long' that one item is.
- Easier: Limit the material choices to only two very different types of objects, like paperclips and blocks, to simplify their exploration.
- Harder: Before they touch anything, ask the child to predict which object will require the most units to cover a specific small distance you point out, and then let them test their prediction.
Done when: Student has explored the materials and shared initial thoughts on how they could be used for measuring.

3Discussion 6 min
Now that you've explored your measuring helpers, let's talk about what you noticed! We're using different "non-standard units" – our everyday items – to measure length. Sometimes, using different units changes how we count.
Ask:
- "Did you notice anything interesting about using a small paperclip compared to a long piece of yarn to measure the same distance?"
- "If we use something really small, will we need more or fewer of them to cover the same distance?"
- "What do you think would happen if we tried to measure our whole room using only one tiny little button?"
Done: The child can explain basic differences in measuring with varied non-standard units.
Know Before You Teach
- Good to know: The size of the non-standard unit directly impacts the number of units needed to measure the same length; smaller units mean a larger count, larger units mean a smaller count.
- This stage reinforces the fundamental concept of the inverse relationship between the size of the measuring unit and the number of units counted.
- Using non-standard units also subtly highlights the importance of using consistent units if one wants to accurately compare measurements.
- If they ask: But what's the 'right' answer? There isn't one 'right' answer for how many, it depends on which measuring helper we choose to use; they all give us different numbers for the same length.
- It's working when: The child correctly states (even if hesitantly) that more small units are needed than large units to cover the same length, or vice versa.
- If they're stuck: Use a visual demonstration: lay out three blocks, then show how many paperclips are needed to cover the exact same length, and then ask which took 'more' items.
- Easier: Focus only on comparing two specific units (e.g., paperclips vs. blocks) and asking which one would take 'more' to measure the same distance, simplifying the comparison.
- Harder: Ask the child to explain why using very different-sized units (like a button and a shoe) to measure the same distance might make it difficult for two people to compare their measurements fairly.
Done when: Student can explain basic differences in measuring with varied non-standard units.
4Activity 9 min
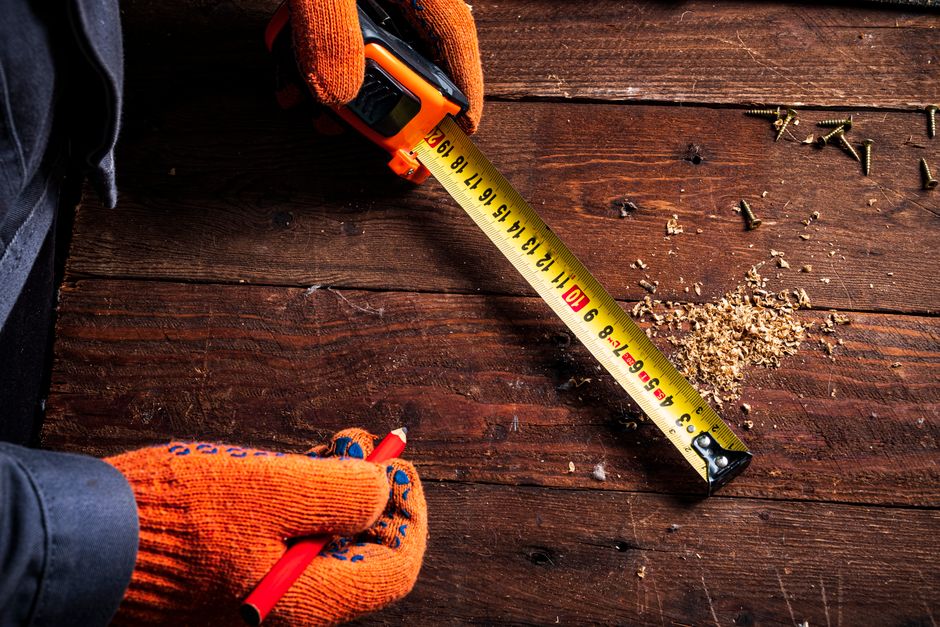
It's time to build! Remind your child of the toy and its start and finish lines. First, encourage them to "estimate" – that means making a smart guess about how many of a chosen measuring tool they'll need to reach the finish. Then, build the path by carefully laying out the chosen tools (paperclips, yarn, or blocks) end-to-end for the toy.
As they build, ask:
- "How many [chosen tool] do you think it will take?"
- "Is the path long enough? How do you know?"
- "What will you do if it's too short, or too long?"
Encourage them to "adjust" – change things to make them just right – until the path perfectly fits the toy's journey.
Done: The child has completed the physical activity of building and adjusting their path from start to finish.
Know Before You Teach
- Good to know: Adjusting the path involves problem-solving: identifying when something isn't right and taking action to correct it, which is a crucial life skill.
- For the toy to 'travel' properly and for accurate measurement, the path needs to be continuous, meaning the measuring units should be laid end-to-end with no gaps or large overlaps.
- If they ask: What if I don't know how many to guess? Just make your best smart guess; it's okay if it's not perfect, the important part is to think about it first!
- Key words: Estimate: to make a careful, smart guess about how many things you'll need.
- Key words: Adjust: to change something to make it fit just right.
- It's working when: The child lays the chosen units end-to-end without large gaps or overlaps, and makes changes to the path if it clearly doesn't reach or goes too far.
- If they're stuck: Physically demonstrate how to lay two of the chosen units end-to-end to start the path, then step back and let them continue building.
- Easier: Provide a pre-measured string or piece of tape that matches the distance, and ask the child to choose units to make a path the same length as the string.
- Harder: Challenge the child to build the path using two different non-standard units side-by-side (e.g., blocks on one side, paperclips on the other) and then compare the total 'count' for each unit type.
Done when: Student has completed the physical activity of building and adjusting their path.

5Summary 2 min
Celebrate your child's amazing work as a path-builder and measurer! This activity also involved "problem-solving," which means figuring out how to make something work when it doesn't at first, like adjusting your path.
Ask:
- "How did it feel to use different things to measure length today?"
- "What was the trickiest part of making your path just right, and how did you solve that problem?"
- "What surprised you most or what did you find easiest/hardest?"
Reiterate that they've learned about understanding how long things are and making sure things fit perfectly!
Done: The child shares at least one key takeaway or observation from the activity.
Know Before You Teach
- Good to know: Measurement is not just about numbers; it's about understanding and comparing sizes and distances in the real world.
- Reflecting on an activity helps children solidify what they've learned and encourages them to think about their own thinking processes.
- If they ask: When will I use this? You use measuring when you pick out clothes that fit, or when you know how far it is to walk to the park, or even when you build with blocks!
- If they ask: Can we do this again with different toys? Yes, we can definitely do that next time! We could even try different measuring helpers!
- It's working when: The child uses descriptive words like 'longer,' 'shorter,' 'too many,' or 'not enough' when recalling their path-building experience.
- If they're stuck: Remind them of a specific moment where they adjusted the path (e.g., 'Remember when the path was too short? What did you do then to make it just right?').
- Easier: Focus the reflection only on what they liked best about making the path and playing with the toy.
- Harder: Ask them to think about what would have happened if they hadn't adjusted the path when it was too short or too long – what might have gone wrong for the toy?
Done when: Student shares one key takeaway or observation from the activity.
Beyond The Spark
Fuel their curiosity beyond the Spark with bonus extras.
Table Talk
Architects and builders use measurement every day to make sure buildings and bridges are exactly the right size and strength.
Challenge
Try building a path around a corner, or measure a path for two toys at the same time to see who gets to the finish line in fewer 'steps' of a specific measuring unit!
Quick Recap Quiz 4 min
Customize this quiz, add questions, or follow your child's lead! Each question has a 'Parent Tip' to help them find the answer without giving it away.
1. If you measure a path with paperclips and then with blocks, which one will you need more of to cover the same distance?
- Blocks
- Paperclips
Hint: Think about which item is shorter. If something is shorter, you need more of them to cover the same distance!
2. What does 'long enough' mean for our toy's path?
- The path reaches from the start to the end for the toy to travel.
- The path has many sparkly decorations.
Hint: We want our toy to reach its goal, right? What does the path need to do for that to happen?
3. Why is it helpful to try and guess (estimate) how many measuring tools you'll need before you start?
- It makes the tools disappear faster.
- It helps you think about the size and plan your work.
Hint: Estimating is like making a smart guess. Why might that be useful when you're planning something important?
4. What do grown-ups often use to measure things when they build houses or roads?
- Rulers and measuring tapes.
- Their shoes.
Hint: We used fun everyday things, but what tools are specially made for measuring very accurately?
Loved This Spark?
Scan to jump into the app and explore similar Sparks in our Sparks Hub. New to Mai? Start free with 10 Sparks, no credit card needed.