
Leaf Detective Mission
Explore the hidden details of leaves through active observation and creating leaf rubbings. This challenge encourages children to look closely at the natural world around them, noticing patterns, textures, and unique features that often go unnoticed, transforming everyday leaves into fascinating scientific subjects.
Our goal: Learners will understand that nature holds many tiny details waiting to be discovered. They will be able to closely observe leaves, identify unique features, and create detailed rubbings that highlight these natural patterns and textures.
What You Need
Leaves • Paper • Crayons • Crayons or Pencils
and this is just the baseline.
Scan to jump into the app and easily personalize this Spark to match your child's exact learning level and see how Mai will guide this lesson.
Learning Guide
A simple guide to lead you through the kickoff, the core challenge, and everything in between.
Mai’s Tips
- Observation over identification: The goal isn't to name every leaf, but to notice differences. Focus on questions like, 'How is this one different from that one?' rather than 'What kind of leaf is this?'
- Crayon technique: The most common stumble is children using the tip of the crayon. Remind them to use the side of the crayon, peeled bare, for the best and most consistent rubbings. If they're struggling, gently guide their hand for the first few rubs.
- Simplifying: For younger children, just focusing on making any kind of mark with a crayon and a leaf is a win. For older children, encourage them to identify patterns in the veins (e.g., branching, parallel) or consider the function of different leaf shapes/textures.
- Leaf placement: Remind children to place the 'vein-side up' under the paper. This is the side with the more prominent veins, which will transfer better. If a leaf is flat, either side might work fine, but generally, the underside has more pronounced veins.
1Introduction - Breakfast Leaf Hunt 3 min
Start the lesson by inviting them to look closely at what's already on the breakfast table. Ask them to find any part of a plant they can see, such as fruit or a leaf. This helps them connect the activity to their immediate environment.
Know Before You Teach
- Good to know: Many common foods, like fruits, vegetables, and grains, come from plants.
- Leaves are vital parts of plants, acting like tiny food factories.
- If they ask: Is this a plant? Yes, it came from a plant. What part of the plant do you think it is?
- If they're stuck: Point to an obvious plant-based item (e.g., a banana, a piece of toast made from wheat) and ask, 'What about this? Where does it come from?'
- Easier: Accept any answer that identifies something from the natural world.
- Harder: Ask older children to identify different parts of the plant (fruit, stem, seed, leaf) from items on the table.
Done when: Child identifies at least one plant part on or near the breakfast table.

2Explore & Plan - Gather Your Green Treasures 7 min
Now, guide the children to find a variety of leaves. This can be done indoors with houseplants or kitchen herbs, or outdoors if accessible. Emphasize finding leaves with noticeable differences in size, shape, and texture. Encourage younger children to compare sizes and colors, while older children focus on different edges and surface feelings.
Know Before You Teach
- Good to know: These variations often provide clues about the plant's environment or defenses.
- If they ask: Can I use this dry leaf? Yes, dry leaves often have very interesting textures and veins that show up well in rubbings!
- It's working when: The child collects a visibly diverse group of leaves.
- If they're stuck: Suggest looking for specific differences, e.g., 'Can you find a leaf that feels smooth and one that feels rough?'
- Easier: Focus on finding just two leaves that are clearly different (e.g., big/small).
- Harder: Challenge older children to find leaves with specific characteristics like 'lobed,' 'serrated,' or 'compound' (without using the terms, just describing the appearance).
Done when: A small collection of at least three different leaves is gathered and brought to the table.
3Discussion - The Secret Language of Veins 6 min
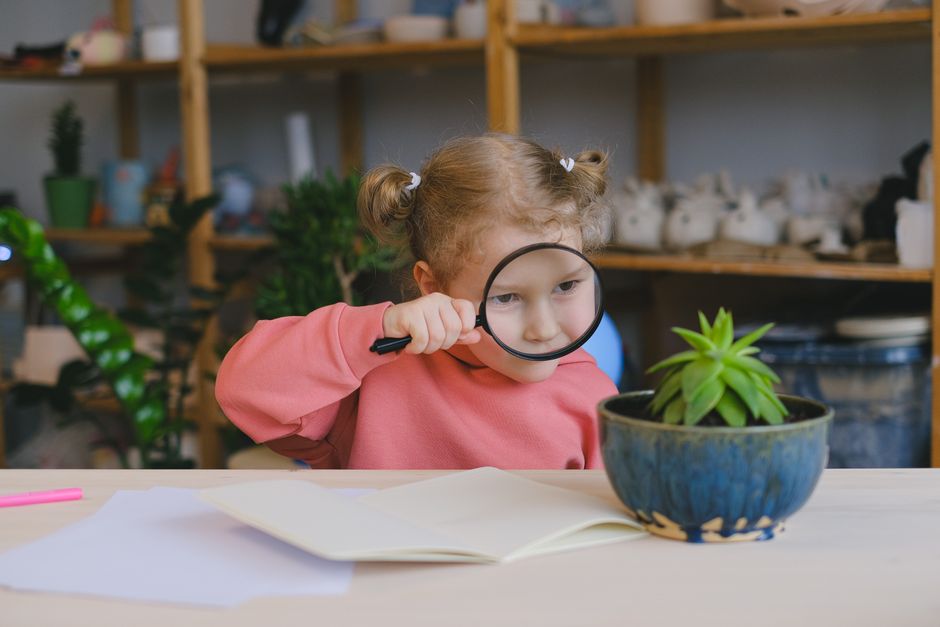
Introduce the concept of leaf veins by having the child examine a leaf up close. Explain what veins are (tubes carrying water and nutrients) and why they are important for the leaf's survival. Ask questions to help them infer the function of veins. What it is: Veins are tiny tubes inside a leaf, like pipes or roads. How to recognise it: You can see them as lines or patterns on the surface of the leaf, often raised or darker. Examples and contrast: Think about the big main vein down the middle of an oak leaf, and all the little branching ones. In contrast, some tiny fern fronds might have veins so small you can barely see them without a magnifying glass, but they're still there. Why: They carry water from the roots all the way to every part of the leaf, and take food made in the leaf to the rest of the plant, helping it stay alive and grow.
Know Before You Teach
- Good to know: Leaf veins are part of the plant's vascular system, essential for transporting water and nutrients.
- They also provide structural support to the leaf, helping it hold its shape and capture sunlight.
- Key words: veins: the tiny tubes inside a leaf that carry water and food, like little roads or pipes
- If they're stuck: If they're struggling with the 'why', ask: 'What happens if a plant doesn't get water? How do you think the water gets all the way into the tips of the leaves?'
- Easier: Have the child trace the veins with their finger and just say 'water goes here'.
- Harder: Ask older children to compare vein patterns on different leaves. Are they always the same? Why might they be different?
Done when: Child can describe leaf veins and explain their basic purpose in their own words.

4Activity - Rubbing to Reveal 10 min
Guide the children through the process of making leaf rubbings. Ensure they place the leaf vein-side up under the paper and use the side of the crayon or pencil. Observe together how the patterns emerge. Encourage younger children to simply make a rubbing; older children can experiment with different leaves and rubbing techniques to capture more detail.
Know Before You Teach
- Good to know: The wax from the crayon captures the raised surfaces, making them visible.
- If they ask: My crayon keeps breaking! Try holding it gently and pressing just enough for the color to come through. Or try a pencil if that's easier.
- If they're stuck: Check if the crayon paper is peeled, if they are using the side, and if the leaf is flat under the paper. Demonstrate again, or offer a fatter crayon.
- Easier: Focus on creating any discernible impression from the leaf, even if it's not perfectly clear.
- Harder: Challenge older children to make rubbings that highlight the secondary veins or to create a multi-leaf composition.
Done when: Child creates at least two clear leaf rubbings, capturing vein details.

5Summary - Nature's Storytellers 4 min
Help the children reflect on their creations and what they learned about observation. Ask questions that encourage them to generalize from leaves to other natural elements, reinforcing the value of looking closely. Ensure they share at least one new insight.
Know Before You Teach
- Good to know: Careful observation is a fundamental skill in science and many other fields.
- It helps us notice details, make connections, and understand how things work.
- If they ask: What else can I make a rubbing of? Great question! What other textured things can you find around the house? A coin? A piece of wood? A textured fabric?
- It's working when: The child expresses genuine curiosity or a new insight about leaves or observation.
- If they're stuck: Point to two of their rubbings and ask: 'Which one did you like making more, and why?'
- Easier: Ask: 'Which leaf did you think was the prettiest?'
- Harder: Ask older children: 'How might a scientist use a technique like this to study plants?'
Done when: Child shares one key takeaway or surprising discovery from the activity.
Beyond The Spark
Fuel their curiosity beyond the Spark with bonus extras.
Table Talk
Scientists and artists often use close observation and detailed drawings to understand and document the natural world, from tiny cells to vast landscapes.
Did You Know?
Did you know the veins in a leaf are like tiny highways carrying water and food?
Challenge
Create a 'leaf texture map' by making rubbings of all the leaves you found on one large sheet of paper, labeling each one. Can you find two leaves that make almost the same rubbing?
Quick Recap Quiz 4 min
Customize this quiz, add questions, or follow your child's lead! Each question has a 'Parent Tip' to help them find the answer without giving it away.
1. What are the tiny lines inside a leaf called?
- Roots
- Veins
Remind them about the 'roads' or 'pipes' inside the leaf.
2. What do leaf veins help the plant do?
- Carry water and food
- Catch sunlight
Think about what travels through pipes or roads.
3. What's the best way to make a leaf rubbing?
- Rub the tip of the crayon hard
- Rub the side of the crayon gently
Remind them of the technique demonstrated for showing the patterns.
4. Why is it useful to look closely at nature?
- To discover hidden details and learn new things
- To find out what color everything is
Think about what new things they found just by observing the leaves today.
Loved This Spark?
Scan to jump into the app and explore similar Sparks in our Sparks Hub. New to Mai? Start free with 10 Sparks, no credit card needed.