Craft Your Bioplastic
This lesson challenges learners to synthesize their own bioplastic from common household items. They will explore the principles of polymer chemistry and investigate the real-world implications of sustainable material science.
Our goal: In this spark, your learner will synthesize a bioplastic using simple chemical reactions and household ingredients, analyze the properties of self-made bioplastic and relate them to polymer structure and evaluate the potential and challenges of bioplastics in addressing environmental issues.
What You Need
Cornstarch • Water • Vinegar • Glycerin • Saucepan • Mixing Bowl • Mixing Spoon • Parchment Paper • Measuring Spoons • Measuring Cups • Stove • Glycerin (or vegetable oil)
and this is just the baseline.
Scan to jump into the app and easily personalize this Spark to match your child's exact learning level and see how Mai will guide this lesson.
Learning Guide
A simple guide to lead you through the kickoff, the core challenge, and everything in between.
Mai’s Tips
- Encourage the student to document their observations throughout the activity – a small notebook for notes on texture, color, and consistency changes can enhance their scientific process.
- After the lesson, suggest researching a real-world company or project that is innovating in bioplastics or sustainable materials, connecting their hands-on experience to cutting-edge research.
Prep Before Session 15 min
- Gather cornstarch, water, vinegar, glycerin (or vegetable oil).
- Locate a saucepan or microwave-safe bowl and a mixing spoon.
- Find parchment paper, measuring spoons, and measuring cups.
- Clear a safe workspace, especially if using a stove or microwave.
1Introduction 5 min
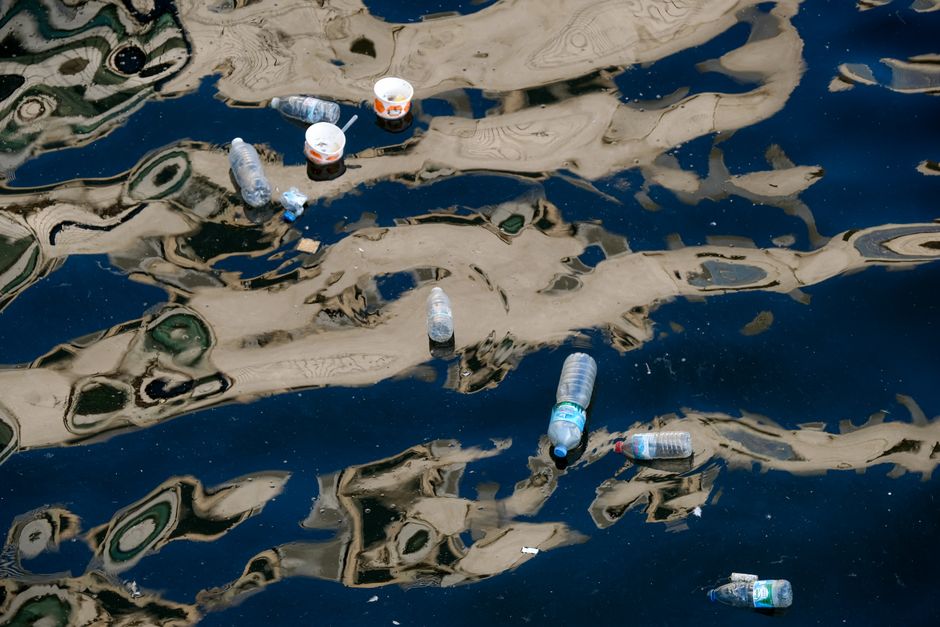
Initiate a discussion about plastic pollution, a major environmental challenge. Encourage your child to share their initial observations and understanding. Listen attentively to their responses and affirm their ideas, setting a positive tone for exploring solutions.
"What are some places you see plastic every day?"*
"What do you think happens to plastic after we throw it away?"*
"Have you ever thought about where plastic comes from?"*
This conversation will help gauge their prior knowledge and ignite curiosity for creating a more sustainable alternative. Let them know that today's activity will challenge them to think differently about materials.
Done when your child has expressed initial thoughts on plastic and the environmental challenge it presents.
Know Before You Teach
- Good to know: Plastic pollution is a global problem because traditional plastics take hundreds of years to break down in the environment.
- Most conventional plastics are made from fossil fuels, like oil and natural gas, which are non-renewable resources.
- The properties of plastic (like being durable and lightweight) are what make it useful, but also contribute to its environmental impact when it's discarded.
- If they ask: Is plastic really that bad for the environment? Yes, because it breaks down into tiny pieces called microplastics that can harm wildlife and stay in the environment for a very long time, affecting ecosystems.
- If they're stuck: Hold up a common plastic item (like a water bottle) and ask them to describe it and where it might end up after use.
- Harder: Ask them to think about how plastic waste affects specific animals or habitats they might know about.
Done when: Student has expressed initial thoughts on plastic and the challenge.

2Explore & Plan 8 min
Help your child gather all the necessary materials: cornstarch, water, vinegar, glycerin (or vegetable oil), a saucepan or microwave-safe bowl, a mixing spoon, parchment paper, measuring spoons, and measuring cups. Ensure you have a safe and clear workspace, especially if using a stove or microwave. Once materials are ready, guide them to predict the outcome of the experiment.
"Based on these ingredients, what do you predict will happen when we mix and heat them?"*
"What properties do you think our final 'plastic' might have?"*
Emphasize the importance of safety when working with heat.
Done when all materials are laid out, the workspace is safe, and they've made predictions about the bioplastic's creation and properties.
Know Before You Teach
- Good to know: Cornstarch is a polymer derived from plants and is a primary building block for many bioplastics.
- Vinegar (acetic acid) helps break down the cornstarch molecules slightly, which allows them to rearrange and form new structures.
- Glycerin (or vegetable oil) acts as a 'plasticizer,' making the final bioplastic more flexible and less brittle.
- It's working when: The child confidently identifying materials and thoughtfully making predictions about the final product's texture or appearance.
- If they're stuck: Suggest thinking about the properties of each ingredient separately, for example, 'What happens to cornstarch when you add water?'
- Easier: Provide two simple choices for what the bioplastic might look like (e.g., 'Will it be hard like a rock or soft like jelly?').
- Harder: Challenge them to write down a hypothesis for how each ingredient contributes to the final bioplastic's properties.
Done when: Student has identified materials, made predictions about the outcome, and confirmed a safe workspace.

3Discussion 6 min
Discuss the nature of plastic and introduce the term 'polymers.' Ask them if they've heard the term. If they're unsure, explain that Polymers are like long chains made of many smaller, repeating units linked together. Think of them as molecular LEGO bricks snapping into a super-long line. This structure is what gives plastics their strength and flexibility. They are important because their long chains create durable materials, unlike simpler molecules.
"How do you think a material made from cornstarch could behave like the plastic we're used to?"*
"What makes traditional plastic so durable, and and why is that both a blessing and a curse for our planet?"*
Encourage them to connect the idea of polymers to why plastics are strong but also problematic for the environment.
Done when they articulate some understanding of plastic composition (polymers) and its environmental implications.
Know Before You Teach
- Good to know: The difference between traditional plastic and bioplastic often lies in what the repeating units are made of and how easily they can break apart over time.
- If they ask: Are all plastics polymers? Yes, by definition, anything we call 'plastic' is a polymer. It's the long, repeating chain structure that gives them their distinct plastic-like qualities.
- It's working when: The child using the term 'polymers' or similar descriptions like 'long chains' when explaining plastic's structure.
- If they're stuck: Use building blocks or paper clips as a physical example to demonstrate how small units can link together to form a long chain.
- Harder: Ask them to consider how changing the type of 'molecular LEGO brick' might change the properties of the final plastic.
Done when: Student can articulate some understanding of plastic's composition and environmental impact.

4Activity 9 min
It's time to make the bioplastic! Guide your child through the steps, letting them take the lead.
1. Combine Ingredients: In the saucepan or microwave-safe bowl, have them measure and combine 1 tablespoon of cornstarch, 4 tablespoons of water, 1 teaspoon of vinegar, and 1 teaspoon of glycerin (or vegetable oil).
2. Stir: Have them stir the mixture well until it is smooth.
3. Heat: Supervise closely as they gently heat the mixture over low heat on a stove, stirring continuously, or microwave it in 10-15 second intervals, stirring between each. Ensure it doesn't boil vigorously.
4. Observe: As it heats, have them observe the mixture until it thickens into a gel-like consistency. Ask: "What changes do you notice as the mixture transforms?"
5. Spread and Cool: Once thickened, have them pour the gel onto a piece of parchment paper and spread it thin. Set it aside to cool and dry for at least an hour.
Done when the bioplastic mixture is successfully spread on parchment paper and begins to cool.
Know Before You Teach
- Good to know: Heating causes the starch granules in the cornstarch to swell and burst, releasing starch molecules that then re-form into a gel-like network.
- The continuous stirring is important to prevent burning and ensure the starch molecules are evenly distributed and react consistently.
- The transformation from a liquid mixture to a thick gel demonstrates the chemical changes occurring as the polymer structure is formed.
- It's working when: The child making a direct observation of the mixture thickening and perhaps commenting on the change in texture or appearance.
- If they're stuck: Point out the changes explicitly, saying 'Look how it's getting thicker now!' and ask them to describe what they see.
- Easier: Pre-measure all the ingredients and have them simply combine and stir under supervision.
- Harder: Ask them to describe the consistency at different stages of heating using scientific adjectives (e.g., 'viscous,' 'gelatinous').
Done when: Student has successfully created and spread their bioplastic mixture, and it has begun to cool.

5Summary 2 min
Celebrate your child's success in creating their own bioplastic! Once it has cooled and dried sufficiently to handle, have them examine their creation.
"How does your bioplastic feel now that it's cooled and dried?"*
"What properties does it have that are similar to conventional plastic, and what's different?"*
"How might this kind of innovation impact our world, and what kinds of careers do you think are involved in developing materials like this?"*
Encourage them to reflect on the process and the potential of sustainable materials.
Done when they share at least one key observation or insight about their bioplastic or its real-world implications.
Know Before You Teach
- Good to know: Bioplastics can vary widely in their properties, from brittle to flexible, depending on their ingredients and how they are processed.
- Scientists and engineers in materials science are constantly innovating to make bioplastics that are as strong and versatile as traditional plastics, but also environmentally friendly.
- If they ask: Can we eat this bioplastic? While the ingredients are food-grade, this particular bioplastic isn't intended for eating; it's a science experiment to learn about material properties.
- It's working when: The child carefully examining their finished bioplastic and comparing its properties to other materials, or offering an idea about its potential use.
- If they're stuck: Suggest they try bending, tearing, or feeling the texture of their bioplastic and then describe what they observe.
- Harder: Challenge them to design a small item or purpose for which their specific bioplastic would be perfectly suited.
Done when: Student shares one key observation or insight about their bioplastic or its real-world impact.
Beyond The Spark
Fuel their curiosity beyond the Spark with bonus extras.
Table Talk
Material scientists and chemical engineers develop sustainable materials like bioplastics to reduce environmental impact and create innovative products for industries from packaging to medicine.
Challenge
Experiment with different ratios of ingredients (e.g., more glycerin for flexibility, less water for stiffness) or add natural dyes (like turmeric or beet juice) to change the bioplastic's properties or appearance. Design a small object to mold it into.
Quick Recap Quiz 4 min
Customize this quiz, add questions, or follow your child's lead! Each question has a 'Parent Tip' to help them find the answer without giving it away.
1. What is the primary reason scientists are developing bioplastics?
- To make plastics cheaper to produce.
- To reduce environmental pollution from traditional plastics.
Hint: Think about what problem traditional plastics create for the environment.
2. What is a 'polymer' in the context of plastics?
- A long chain of repeating molecular units.
- A short, simple molecule used as a dye.
Hint: Remember the discussion about how plastic gets its structure.
3. Why is glycerin (or vegetable oil) included in the bioplastic recipe?
- To make the bioplastic biodegrade faster.
- To act as a plasticizer, making the material more flexible.
Hint: What effect did adding oil or glycerin seem to have on the final texture?
4. How might a career in material science relate to today's activity?
- Designing and testing new materials with specific properties and applications.
- Primarily focusing on the marketing and sales of existing plastic products.
Hint: What did you do today? Was it more about making or selling?
Loved This Spark?
Scan to jump into the app and explore similar Sparks in our Sparks Hub. New to Mai? Start free with 10 Sparks, no credit card needed.